Quick start

Quick start

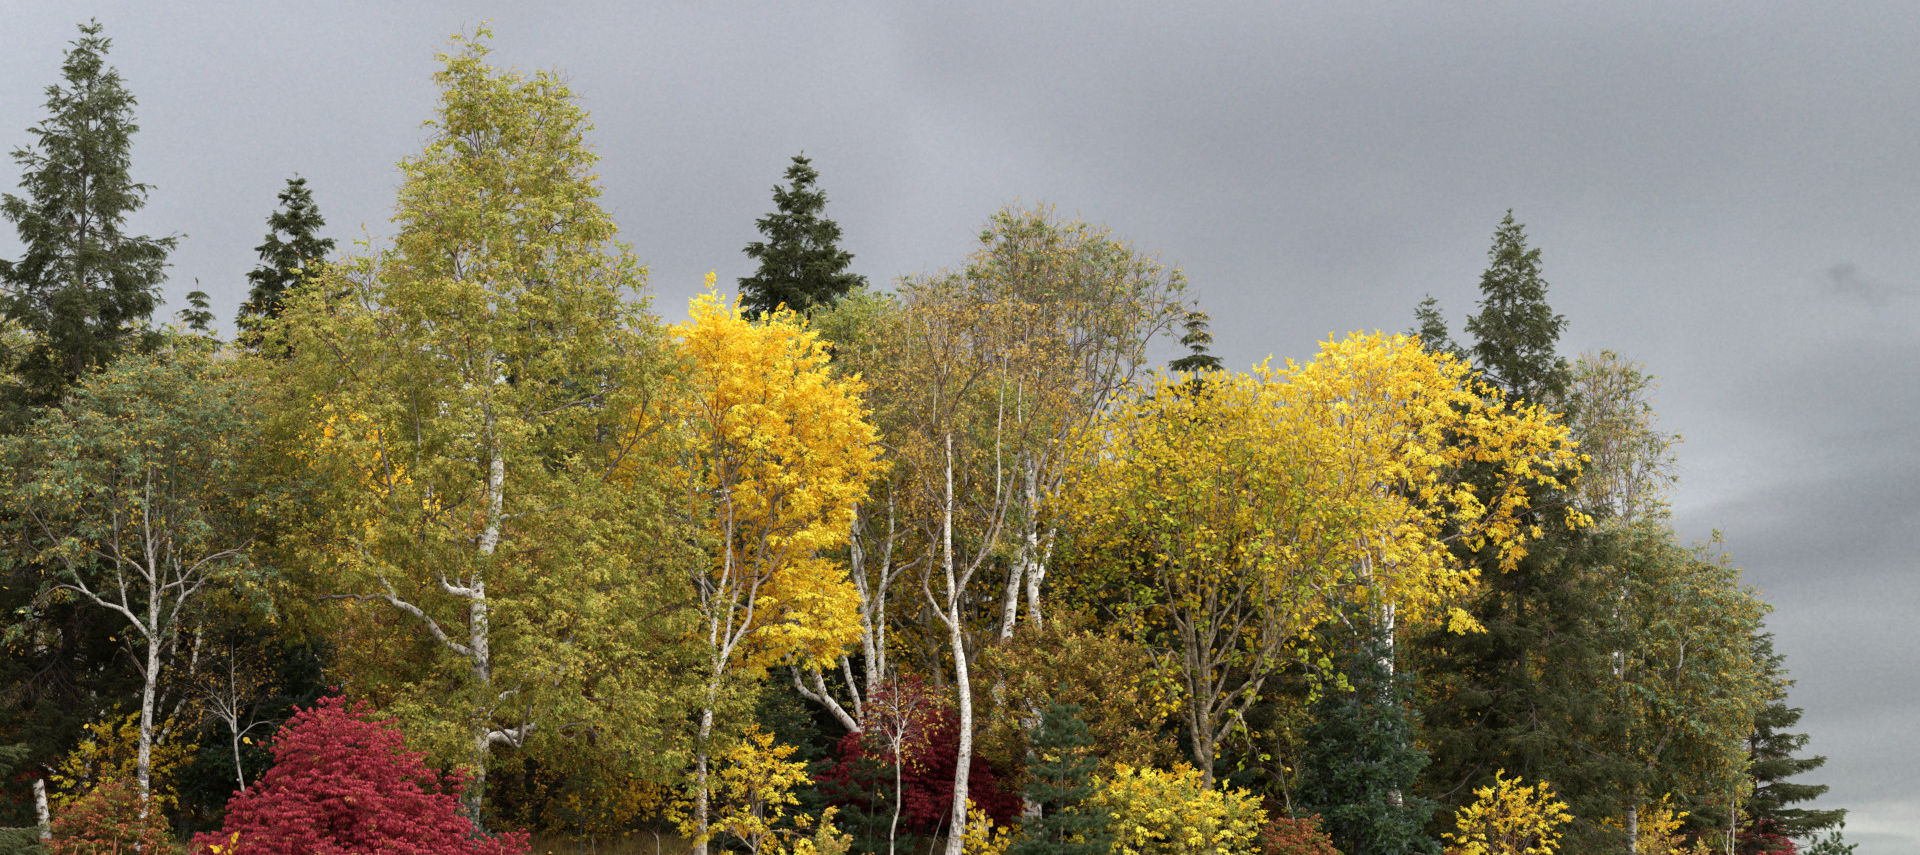
A grove is a group of trees of the same species that grow together. It can be a small stand of trees on the town square, an orchard, a clump of trees in a field, or even a small forest.

You will find The Grove’s interface in the Blender’s 3D view. Open up the side bar from the view menu and open the Grove tab – then add a new grove. The grove you just added will be linked to a new collection. To edit this grove at a later time, you can select the collection in Blender’s outliner view.

Get growing

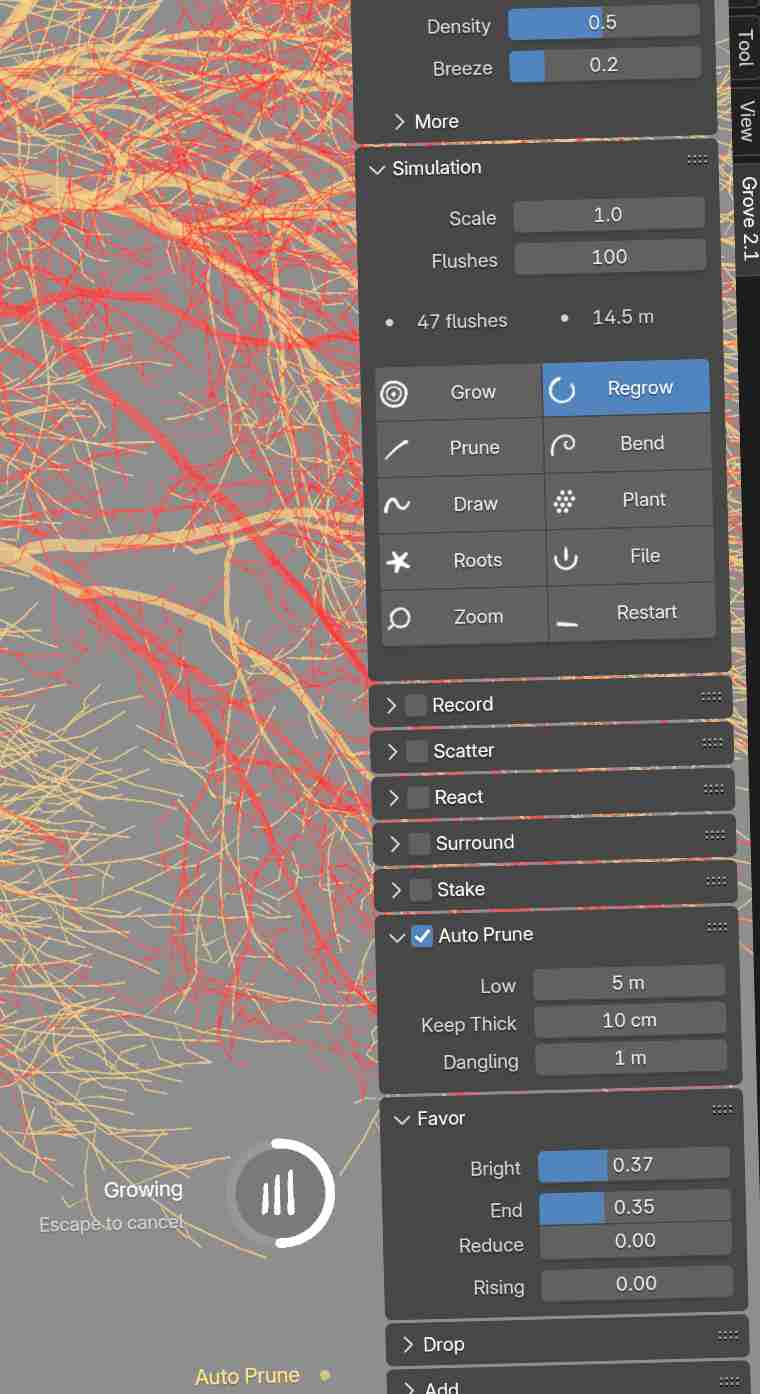
The Grove makes growing 3D trees very easy, the simulation does most of the work. But it’s up to you to guide the simulation to create the shape of trees you’re after. To start growing your first tree, simply click Grow a couple of times and watch nature take its course… The grow tool start a simulation cycle with many steps – first dropping weak branches, then adding new branches, growing, thickening and bending every branch, etc. This whole cycle is then repeated year after year in what’s called a flush.

You can lower the number of Flushes to 1 to see what’s going on each year of the simulation. You can find it in the Simulate panel. Click Restart, then continue clicking Grow, and as the tree grows taller you’ll notice weaker branches being dropped, heavier branches bending down under their own weight – and all kinds of other effects that form a tree during its life.

Try growing some of the many included presets – they cover a wide range of tree characters. I hope this gets you excited now you see how easy The Grove is to work with. Next, I’ll go over the most important shaping parameters.

Shaping your tree

Prune

Like in the real world, pruning your tree has a big impact. Pruning can be done at any time during a tree’s life. It’s good practice to grow in 5-year increments, and after each cycle you can prune your tree if necessary, to guide and shape your tree.

Click the Prune tool and then draw cutting lines in the 3D view. After pruning, you can continue to grow your tree and keep removing unwanted branches.

Favor

When you’re ready, try tweaking some of the more advanced parameters that make a tree grow the way it does. There are many parameters in the Favor and Turn panels. Some of them are straightforward, while others need some explanation. Hover your mouse over any parameter to read its tooltip. Try growing your tree with different settings – experimenting is the best way to learn. To save you some time, you can use the Regrow tool to quickly regrow the tree to the same age, and to skip the intermediate steps.

To get a feeling of some of these parameters, let’s pick the Ash preset. After growing an Ash with the preset settings, change Favor Bright to 0.0 and watch it grow a very different tree.

Then you could increase Favor Ends to say 0.8. Observe how this will squeeze the energy out of newly added side branches.

Turn

Some of the most interesting effects reside in the Turn panel. Let’s reload the Ash presets to get the default values back. Next, scroll down to the Turn panel and take a look at Up and Up in Shade. Ash trees have thick and heavy branches, but they still manage to strongly grow upwards, away from gravity. If you change both values to 0.0 you can observe the full effect of gravity, and it will grow a completely different tree.

Try playing around with the other parameters in the Turn panel – remember to hover over them to get an explanation of the effect.

When tweaking growth parameters, it is best to do it without twigs, to better see the branching structure.

Gravity

Spreading branches will bend over time – the increase in weight keeps pulling them down. The tree reacts by adding thickness and growing back up – an interplay of forces that will shape your tree.

Bend

When you have a tree standing, try fiddling with the Bend > Branches parameter and regrow your tree.

As your tree’s branches continue to grow, they also continue to bend year after year. When a branch bends further, its leaves may shade a branch below. The shaded lower branches will grow weaker and eventually drop. Thus Grow, Bend and Drop all work in concert to create a well-balanced crown shape – and changing the branch weight requires a regrowth of the tree. Cumulative bending through the years can have a big impact on the tree’s final shape.

Adding thickness

It would make no sense to define the trunk thickness, as this would change every year. Instead, each branch’s thickness is calculated from the tips down to the base. Starting with Thicken > Tips.

When a node is a branching point where two or more branches merge into one, the Thicken > Join comes into play, which calculates a realistic addition, based on the cross sections of the node’s sub branches. Try playing with this value and regrow your tree – it’s fun.

But hey, what just happened to my tree?! As you will see, changing branch thickness will do much more – in fact, the entire tree changes shape! As with many of The Grove’s parameters, they all depend on each other. Adding thickness lowers the effect of gravitational bending – although a thicker branch weighs more, the added thickness adds much more strength to a branch. This is just one example of the “butterfly effect” that resonates through all parameters. Creating your perfect tree is a balancing act – don’t be afraid to experiment and regrow.

Adding twigs

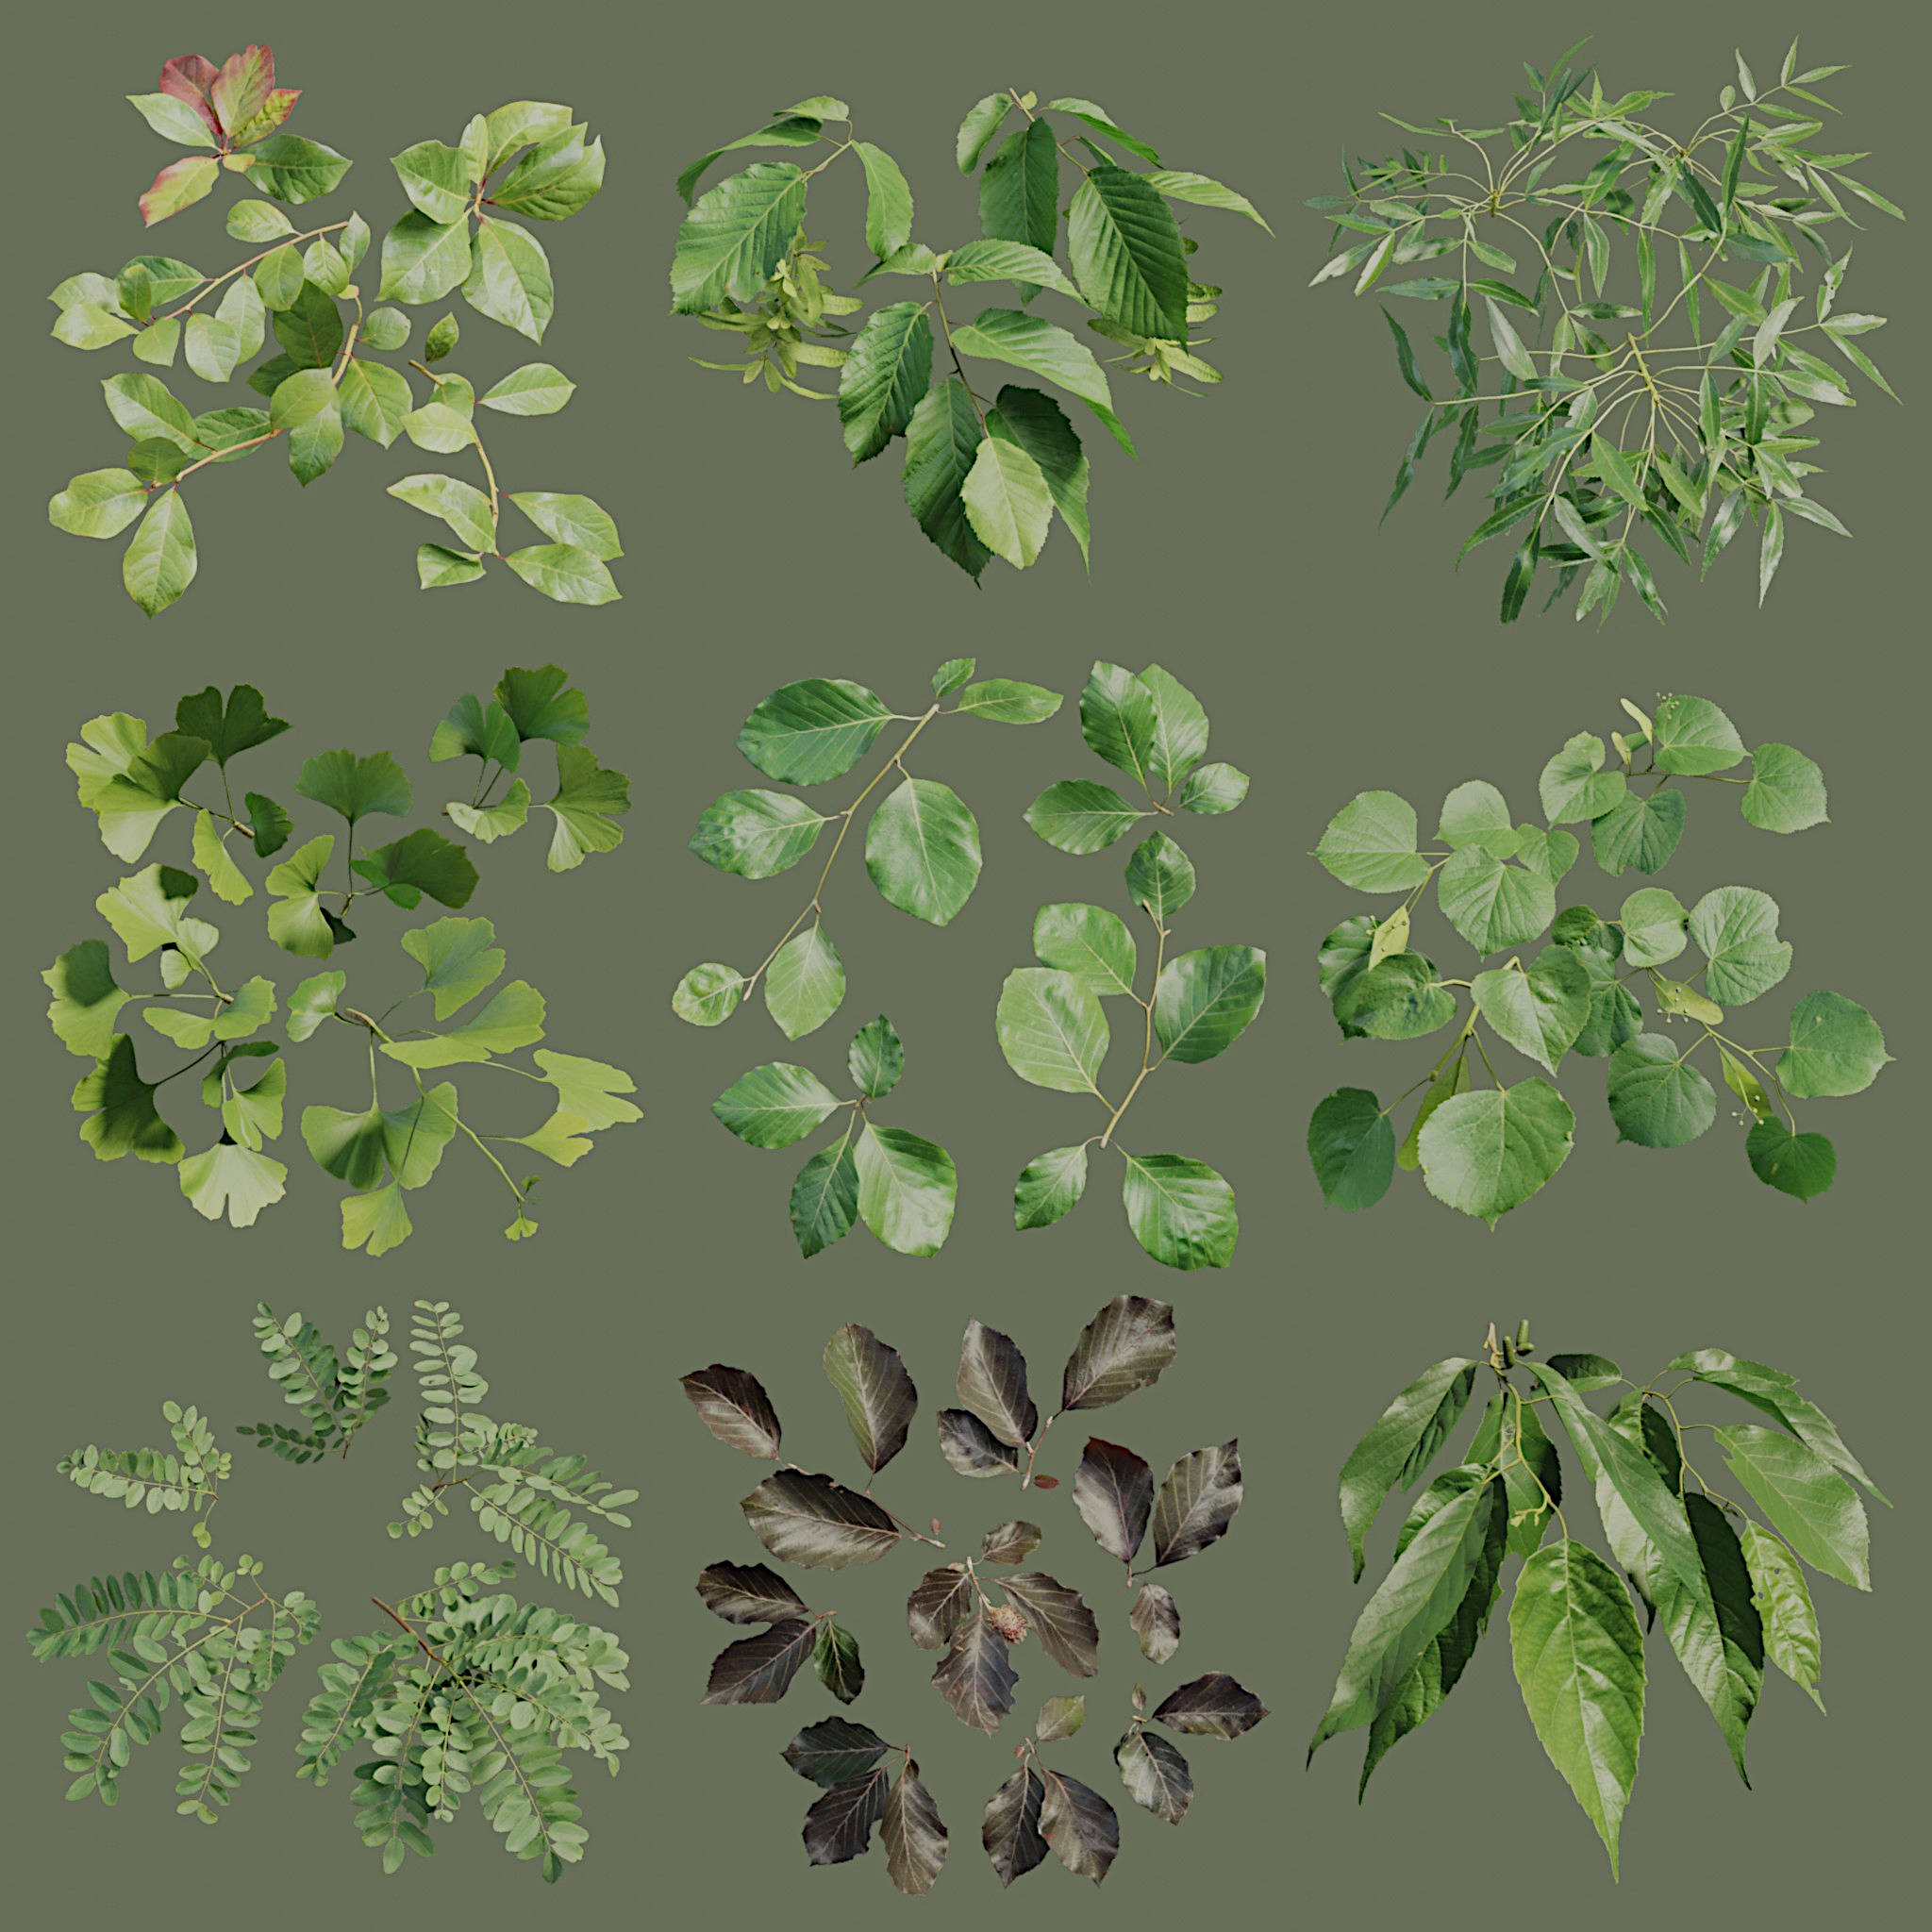
To add twigs or leaves, simply pick them from your twigs library using the twig picker menu. You can also use any 3D object in your scene. End twigs are distributed at branch tips, while side twigs grow alongside branches. Play around with the twig parameters like Density, and if you’re unsure of what a parameter does, remember to hover over it to show its tooltip.

Twigs can represent one, two or even more years of growth. They can also be a single leaf. When you pick a different twig or preset, the best workflow is to always tweak the Simulate > Scale and Twig > Density to match the twig to the preset.

Finish growing

There is no button to stop The Grove – you just keep growing and tweaking until you’re satisfied. While you grow, all of Blender’s functionality is at your disposal. You can continue to work on other parts of your scene and come back at any time. Your trees are linked to a collection. You can add multiple grove collections at different places in your scene, and they can be of different tree species. Simply select this collection from the outliner to edit that specific grove of trees.

Now that you’re up to speed, Learn about all of The Grove’s features.